
How to Read a Forest Trail Map: A Beginner's Guide to Navigation Without Signal
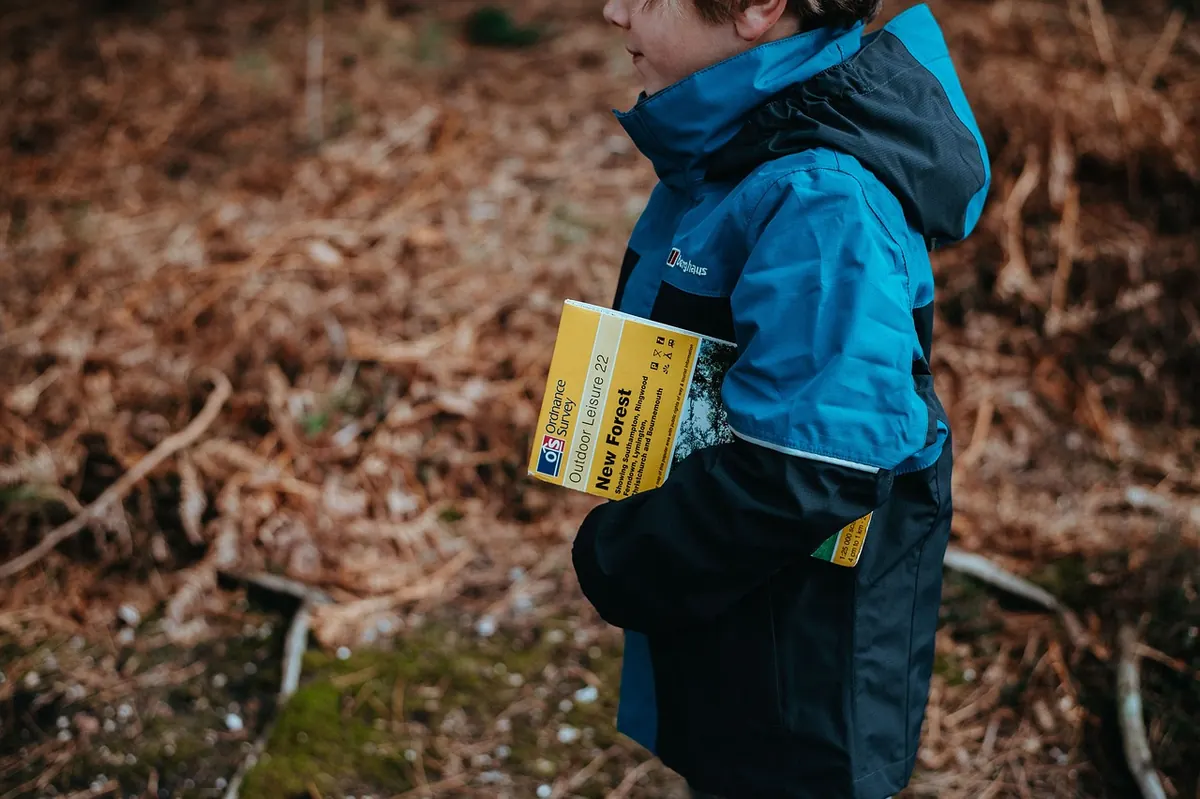
The trailhead sign says four kilometres. Your phone says one bar, then nothing at all. Somewhere in your jacket pocket is a folded sheet of paper that knows more about this forest than any app will once the signal dies.
Learning to read that sheet properly takes an evening, and it changes how a walk feels. Instead of hoping the path keeps going the right way, you start to recognise where you are. What follows is the practical version: legends, contour lines, blazes and junction signs, and how to keep the map honest once your boots are muddy.
Start With the Legend, Not the Path
Open the map flat and find the legend before you look at anything else. Three things there matter more than the rest: the scale, the contour interval, and the date.
The scale tells you how far a centimetre travels on the ground. On a 1:25,000 map, one centimetre is 250 metres, so four centimetres is a kilometre and your thumb — roughly two centimetres wide — covers about 500 metres. On a 1:50,000 map, that same thumb covers a kilometre. Knowing this stops you from guessing wildly at distances all day.
The contour interval, usually stated as five, ten or twenty metres, is the height difference between adjacent lines. The date matters because forests get felled, tracks get built and bridges disappear. A map that is fifteen years old is still useful, but treat anything man-made on it as a rumour.
While you're in the legend, check how the map distinguishes a waymarked footpath from a forest road, and how it shows streams, walls and boundaries. Those symbols are the ones you'll rely on most.
Contour Lines, Explained at Walking Pace
Contours make a map look like it's having a bad hair day. They are simply lines joining points of equal height, and once you stop fearing them they become the most useful thing on the page.
- Spacing. Lines packed tightly together mean steep ground. Lines spread wide mean gentle ground. A slope you can walk up without using your hands is usually drawn with a few millimetres between lines; a dense black band is a climb worth planning around.
- Shape. A contour that bends into a V pointing uphill marks a valley or gully. The same V pointing downhill marks a spur — a ridge of drier ground between two gullies, and often the friendlier line to walk.
- Circles. Small closed circles mark a summit. The same closed shape with tick marks on the inside is a hollow or depression.
Counting lines gives you the climb without any equipment. From a stream to a ridge three contours up on a ten-metre map is thirty metres of ascent, which is nothing. Ten contours is a hundred metres, enough to make you slow down and unzip a layer.
One habit worth building: choose routes where the contours cross your path at a shallow angle rather than straight across it. A path that sidles around a hillside along a contour is a comfortable traverse. One that cuts perpendicular to the lines is a staircase in disguise.
Trail Markings: What Paint and Posts Actually Mean
Marking systems vary by region and by landowner, so the first thing to find at any trailhead is the panel explaining the local version. Most use painted blazes — a rectangle, a stripe or a symbol on a trunk or post — in a single colour. The logic is usually consistent:
- One blaze: you are on the route. Keep going.
- Two blazes stacked vertically: straight ahead.
- A blaze with a smaller mark or arrow beside it: the route turns that way.
Before you commit to a turn, look for the next blaze. Painted routes are designed to be visible from one mark to the next, so if you can't see a second mark, you may be reading the wrong tree. A single blaze beside a well-worn side path is a classic trap: worn ground proves that people walked there, not that they went the right way.
If five or ten minutes pass without a blaze, stop. Retrace to the last mark you are certain about. Carrying on in hope is how a short detour becomes a long afternoon.
Junction Signs and Their Blind Spots
Junction signs are helpful and incomplete. They usually give a destination, a distance, sometimes a walking time, and an arrow. What they rarely give is direction relative to your map, and distances are measured between different points — one sign counts to the car park, another to a viewpoint, another to the far boundary.
So do the work at the junction rather than at the sign. Before you arrive, find the junction on the map and count the paths that meet there. Three arms? Four? Note what is distinctive around you: a stream crossing, a stand of larch, a wall running away to the north. Then read the sign and check it against the map, not the other way around.
Signs get turned, moved and scratched at. A post with a fresh nail hole and a slightly odd angle deserves a second look before you trust it.
Handrails, Catching Features and Aiming Off
Handrails are linear features you can follow without checking the map every minute: a stream on your left, a forest edge, a stone wall, a ridge line. When your path runs alongside one, navigation becomes almost automatic. Choose routes with handrails when you are tired or the light is going.
Catching features are what you would hit if you walked too far: a road, a lake, a big clear-fell, a river junction. Note two of them before you set off. They turn a mistake into a correction rather than a mystery.
Aiming off is the habit of deliberately walking a few degrees to one side of your target when it sits on a linear feature. Aim slightly left of the footbridge, hit the stream, then follow it right to the crossing. It is a slightly longer line and a far more reliable one.
For timing, a common rule of thumb among hillwalkers is an hour per five kilometres on flat ground, plus an hour for every six hundred metres of climb, adjusted for mud, undergrowth and stops. Use it to check whether you will be out before dark, not to win an argument.
A Five-Minute Check at the Trailhead
- Find the information panel and read the local marking system.
- Fold the map so only today's section shows. A full sheet flapping in the wind is useless.
- Check the date and the contour interval in the legend.
- Orient the map north-up, then turn it until the shapes in front of you match the shapes on paper.
- Identify your first three landmarks: a stream, a bend, a junction.
- Note two catching features and one handrail.
- Put the map in a clear waterproof case and keep it in a pocket you can reach without taking your pack off.
Practise on Ground You Already Know
Map reading is a physical skill as much as a visual one, and it improves fastest on trails you already know. Walk a familiar route with the map open and point to your position every ten minutes. You will be wrong at first, then less wrong.
Then try a short stretch without looking, and check your guess at the far end. Do that a few times and contour lines stop being scribbles and start looking like ground.
One habit is worth keeping above all others: at every junction, before you move, say out loud where you are on the paper and where you are going next. It takes ten seconds. It is the difference between a walk you navigated and a walk that simply happened to you.
Photo: StockSnap / Pixabay